Cleaning Tests
Question: How do I determine if a part is clean?
Question:
How do I determine if a part is clean? I know this can be very subjective but I have seen some types of testing as simple as a white glove test to a more sophisticated test for particle size and quantity. D.Q.
Answer:
Do you know that you have really opened a Pandora’s box with this question? Like beauty, cleanliness is largely in the eye of the beholder. It is relative to the circumstances for that given widget. What dirt does the part have on it? What will that part need to do in the future? Will it be painted, welded, formed, assembled, or be involved in one or more of a million different possible combinations of other operations?
Featured Content
Obviously, more stringent final operations require a higher cleanliness level and different instrumentation to verify this cleanliness. Somebody making disk drives will need a higher cleanliness level and therefore be willing to pay for a more sophisticated measurement method than somebody in a sheet metal shop stamping parts for an industrial application. The level of cleanliness is also very dependent on the type of soil of interest. In some situations, cleanliness is measured by the amount of oily residue that is left on a metal surface. However, if this part were to be used in an internal combustion engine, a small amount of oily residue would not be a problem nearly as much as residual particulate.
So for starters, you have to realize there is no such thing as a single cleanliness specification and there is no one instrument for measuring it. First answer the question, “Why am I cleaning?” Are you removing oils (what types?), particulate (what types?), and what will you or your customer be doing with the part after you are done with it? These three questions are critical to deciding how you will evaluate cleanliness, since there are different methods for oils and particulate. Answering the third question will help you in deciding to what lengths you want to go in verifying cleanliness.
Cleanliness verification methods can roughly be divided up into plant-level and laboratory-level methods. The plant level methods can be as simple as a visual inspection or “white glove test” (self-explanatory, although could be a white rag, etc). Several variants of cleanliness methods are based on the “water-break” test. The idea behind this test is that water will bead on a surface that still contains oily residues (much like water on a freshly waxed car). One of the ways this test is applied is by dipping and removing a part from clean deionized or distilled water and measuring the amount of time the part stays water-break-free. Variations on this include a spray pattern or an atomizer test where water is sprayed or atomized onto the surface of a clean and dry part. The part is then measured with a grid to determine the percent of the surface that is water-break-free. The higher the percent, the cleaner the part is.
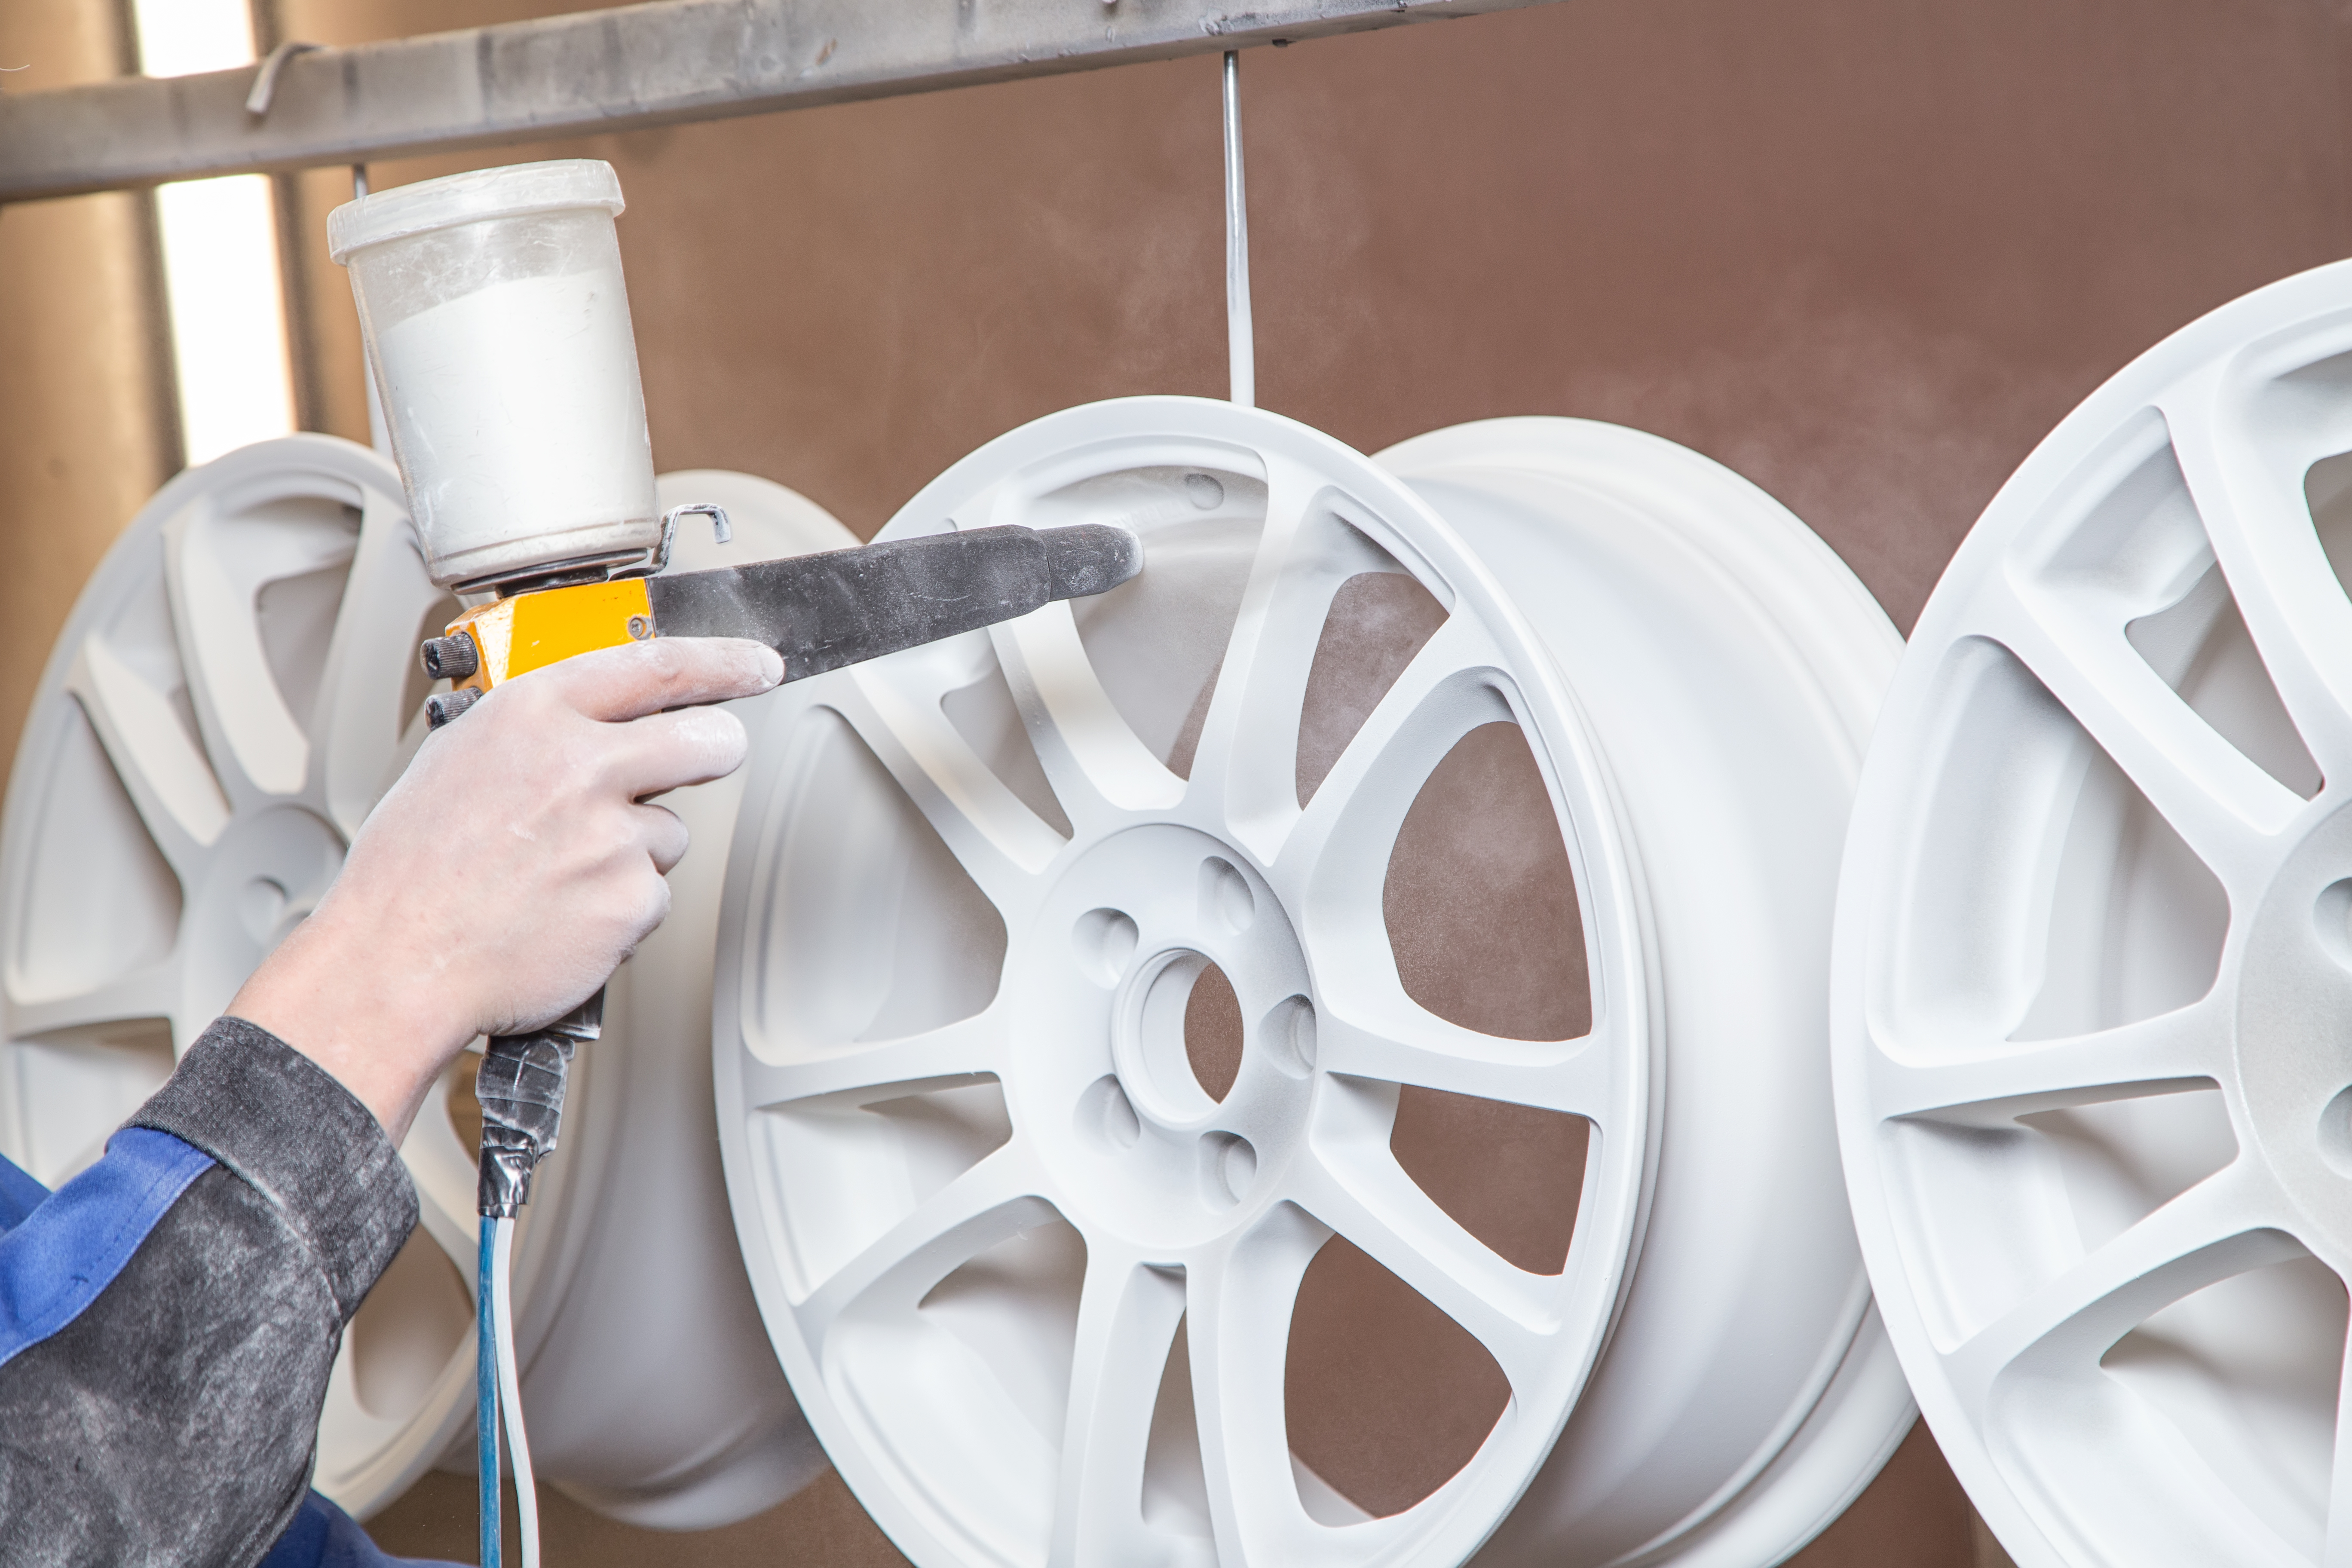
There are also simulated end use tests that simply try to simulate the condition of the part in its final state. For instance, a standard part could be cleaned regularly, then subjected to painting and destructive testing (such as adhesion and salt spray) to see if the surface is clean enough to accept paint. This example is obviously only valid for those parts that would be painted and it is important to consider the type of paint applied. A solvent-based paint would be more forgiving of oily surface residue than a powder paint. Similar tests could be devised to check the end use of other applications (i.e., welding, plating, etc.).
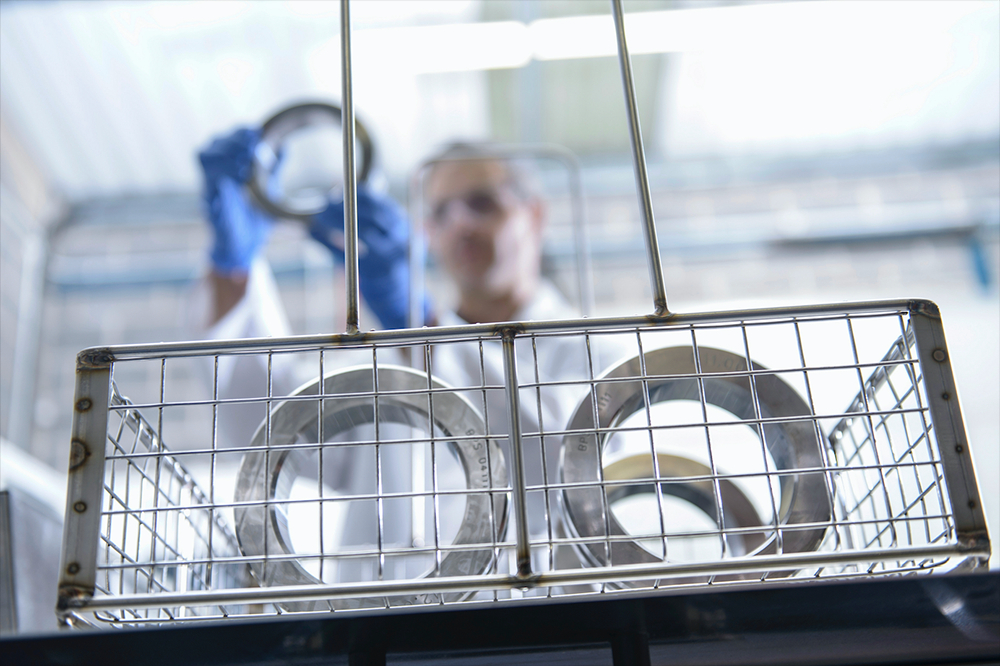
Laboratory methods generally are characterized by a higher cost and time investment to perform the testing. One of the more simple methods of cleanliness verification is a non-volatile residue (NVR) test where you basically re-clean the part in a laboratory with a solvent that is known to remove any residual contaminant the piece might contain. After rinsing off or flushing out the product, the solvent is distilled/evaporated. The remaining residue is weighed and considered non-volatile residue. An additional step can be taken where the solvent is first filtered to remove particulate contamination, which is weighed and measured separately from the non-volatile residue. Particulate contamination can also be characterized and described using a particle counter. The residual particulate is essentially suspended in a fluid and a light source shows through the fluid with suspended particulate to characterize size and number.
More involved instrumental methods can be used separately or in conjunction with the NVR testing. Infrared spectroscopy (IR) can be used to qualitatively and semi-quantitatively identify the residual contaminant. Other laboratory instrumentation can look directly at a discrete surface, although it is difficult to quantify if that is representative of the entire part. Scanning electron microscopy (SEM) can be used to examine the surface of a part. It can characterize the size and shape of residual particulate, although energy dispersive x-ray (EDX) is needed as an add-on to the SEM to determine elemental composition of the containment. If a contaminant is largely just a metalworking lubricant, it's generally not very useful to employ this sort of a method, since it will usually just detect large amounts of carbon.
Other even more sophisticated methods exist, but they are somewhat similar to the SEM/EDX. I have an entire chapter devoted to this subject in my book Practical Guide to Industrial Metal Cleaning, available through Hanser-Gardner Publications (www.hansergardner.com).


