Coating Thickness Control
How can I control the thickness of the powder film on my parts?
#racking
Q. How can I control the thickness of the powder film on my parts? We have some parts that have complex shapes, and there is a lot of variance in film build. We have some rejects from light coating, and some are rejected because of heavy film and too much orange peel. How should we control the gun to get better consistency? J.B.
A. Any good powder coating expert will start this discussion by mentioning ground. Good earth ground is essential to film-build control. Powder is heavily influenced by the voltage that is discharged and the resulting current that flows from the gun tip to the part. Resistance occurs as a result of the part shape, and electricity flows along the path of least resistance. This causes two things to occur that could impact film-build uniformity. First, the powder is likely to follow the voltage lines, so if they are stronger in one area than they are in another, that area will likely have greater film build. Second, the electrical resistance in the inside corners (Faraday cage effect) will grow as the voltage lines develop and current flows to the part, making it even more challenging to get powder into the recessed areas and adding more film to the more exposed surfaces. All of this may create some challenge if the part is grounded.
Featured Content
If the part is not earth-grounded, the Faraday cage effect and film-build uniformity are going to be much bigger challenges. Inconsistent film is the result, and rejects are much higher where the ground is good. Earth ground should be measured with an ohmmeter, and the reading should be less than 1 mega-ohm. Keep in mind that all it takes to maintain good earth ground is a clean contact point and good path to ground, variables that all coaters should have complete control over at all times.
Assuming that the earth ground is good, coating thickness is controlled by the use of a standard set of operating variables that affect film build:
• Gun-to-target distance
• Electrostatic settings (voltage and micro-amps)
• Flow rate and powder velocity
• Number of strokes or dwell time in front of the gun.
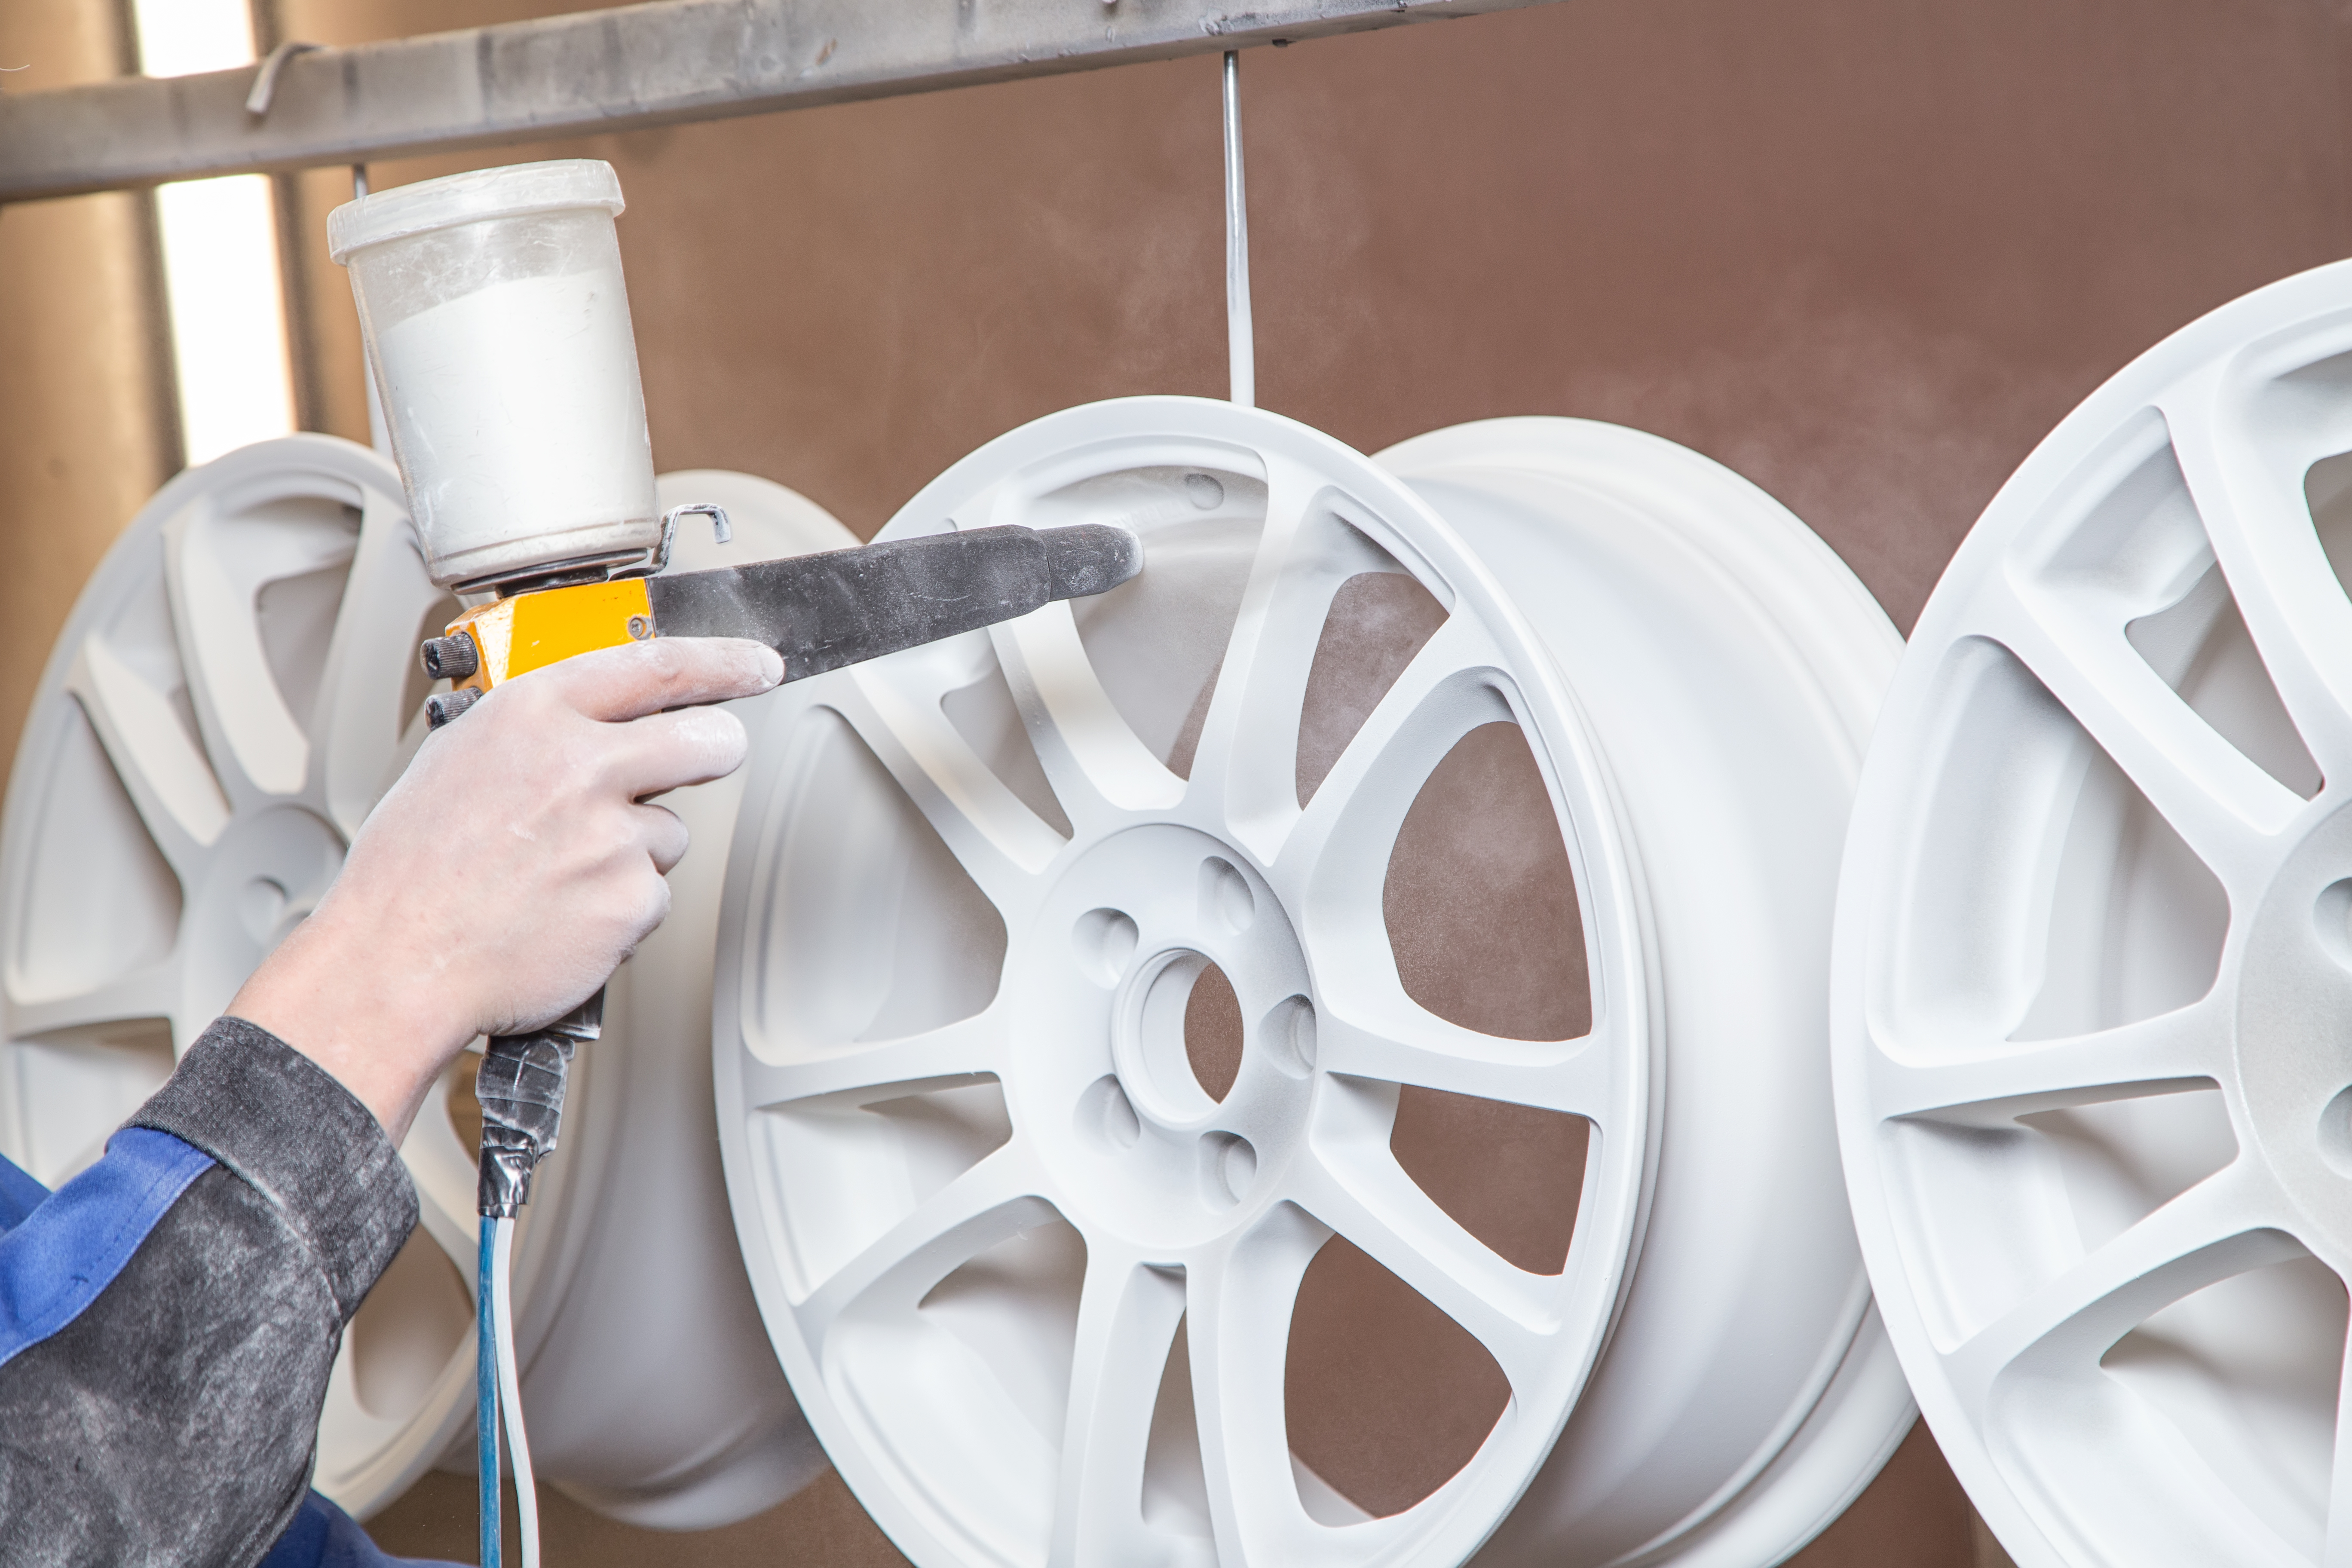
To develop an optimum set of controls, you need to do some experimentation and verification. Try full voltage and amperage to start with, a medium-to-low setting on flow rate and average distance (6 inches for manual guns and 12 inches for automatic guns), and make two to three passes. Use medium to slow strokes with some overlap of your pattern.
For complex shapes, reduce the amperage and voltage, and coat difficult areas first. Observe the spray pattern to see how much velocity you have (high velocity is bad), and note how much overspray is generated. If the overspray is low and the coverage is good, you are fine. Increase the flow if you need more powder, and decrease the flow if you have a lot of overspray. Establish a standard setup and be consistent. Maintain a smooth spray pattern by making sure that you have right ratio of flow air to secondary air.
A final word to the wise: Be diligent with your racking. Carefully hung parts on clean hooks will yield the best results. Stable hanging patterns, parts hung in dense patterns but not too close, and good access to the spray pattern will enhance film build control and efficiency.
RELATED CONTENT
-
Making the Switch from Hex to Tri Chrome
Massachusetts finisher Independent Plater switches with the help of TURI university program
-
Control of Powder Film Thickness
Powder coating consultant Rodger Talbert offers insights for film build control when powder coating.
-
Troubleshooting 5 Common Racking Problems for Platers
Being aware of usual issues that might occur during the plating process will prepare platers by helping them know how to avoid them all together or how to fix them if they happen.


