

The 3D-printer market is still fairly young, but as the technology advances, the capabilities and costs are likely to improve. Custom masking is an area of opportunity.

The G code for the 3D build must be transferred to the 3D printer, and different printers handle this transfer in different ways.

Many different software packages are available that are capable of creating these models.

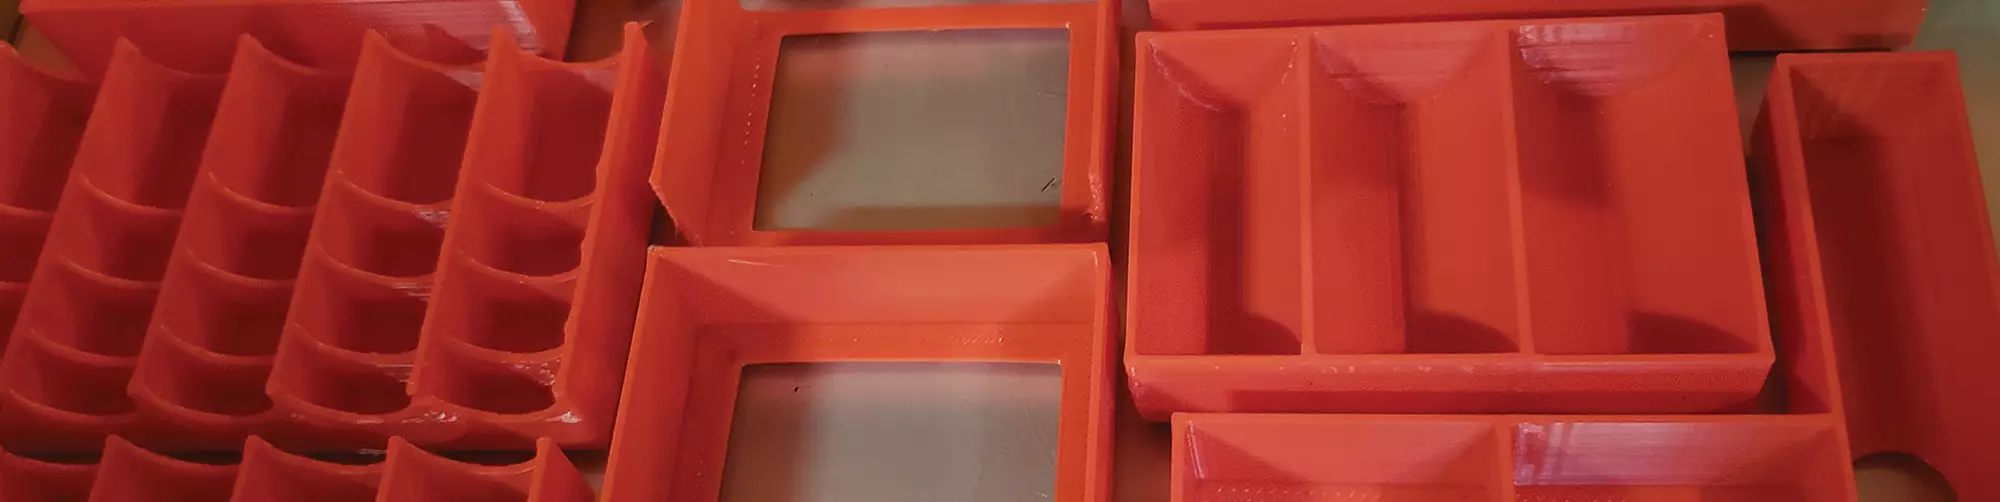
Software was used to create the model for a 3D-printed mask.

The extruder, hot-end and nozzle are the “business section” of a 3D printer. This is where the plastic filament is squeezed through a very hot tube and melted to create the printed part.
Share
For years, our coating operation has purchased masking products from various vendors. The market for standard, off-the-shelf caps, plugs and adhesive products is very competitive and reasonably priced. Some projects require custom masking, however, and the setup fees and long lead times often make custom masking options financially unfeasible. For such projects, manual tape masking is often used instead, and the cost of the additional labor is passed on to the customer.
Several years ago, we began exploring the possibility of using 3D-printed masking that we could produce in house. As the technology matured and the cost of 3D printers decreased, we continually invested in this process.
Featured Content


As with most new technology, there are trade-offs and learning curves to overcome. To complicate matters further, there is a plethora of options and software available from which to choose, and it can be overwhelming. If you are looking for information about 3D printing in general, it is fairly easy to find out about the best materials and methods for printing a Yoda head or other Halloween costume, but there are very few resources related to 3D printing masking for a production coating facility.
Limitations and Benefits of 3D Printing
Before we jump into what 3D-printed masking can do, it is important to understand what it can’t do: It can’t stand up to high-temperature processes. We only 3D-print masking for our liquid and powder processes, because the masking typically begins to deform between 200°F and 300°F, depending on the type of filament used to make it. So for now, masking for any process in which you cannot remove the mask prior to a bake cycle is out of the question. That is not to say a person could not print molds for masking materials that can withstand higher temperatures, and we are exploring that possibility. Also, new 3D-printing materials are entering the market weekly with many different properties. It is possible that a new filament will be developed that raises the heat-deflection temperature beyond the 300°F we currently see.
Another downside of 3D printing is that it generally is slow; a stock printer with a 0.4-mm nozzle typically will take three hours to print a 4- by 4- by 2-inch piece of masking. Even when set up on a faster machine with a larger nozzle and an optimized print path, you can expect print times of around 45 minutes for that same 4- by 4- by 2-inch mask. However, although print speed may seem like a deal-breaker, one of the benefits of this technology is that it is infinitely scalable: You can print more than one mask at a time per printer, and you can control as many printers as you need from a single dashboard. If you need to print more masks at once, just add more printers.
It is possible to begin 3D printing custom, production-quality masking for a total investment of less than $300, which includes the printer, a controller, filament and software. Compared to what this cost was just a few years ago, the price for experimenting today is extremely low.
Other Considerations
Following are several options to consider when looking into 3D printing masks for a coating facility, including the systems we have adopted and why we chose them. This is not a complete how-to list and should be treated as a general guide.
3D modeling software. In order for the 3D printer to build a piece of masking, it needs a computer-generated model from which to print, and there are many software packages that can be used to create these models, ranging from extensive (and expensive) systems like Autodesk 3DS Max to highly capable open-source systems like Blender. Beyond the cost of such software is the learning curve each presents. If you have staff members who already have experience using a particular software package, you may be better off providing them with the tools they are already comfortable using.
However, if your employees are not already proficient with advanced 3D-modeling software, there are applications that require very little prior knowledge of 3D modeling and that are still powerful enough to create the generally simple shapes required for masking. About 95 percent of our masking is designed in such a system called TinkerCad, a web-based software package that we have found to be very easy to learn and an excellent starting point for 3D modeling. As an added bonus, its default file output is the STL format, which is used by all 3D slicers. Although TinkerCad may not be powerful enough to create complex, free-form masking, it is more than sufficient for creating the custom caps and covers we need for most coating applications. For more complex shapes, the open-source Blender application is also an excellent modeling package, but it comes with a much steeper learning curve. SketchUp, FreeCad, 3DTin and Sculptris are other good free or inexpensive options for modeling.
Model-slicing software. After a model is created, it has to be “sliced” to create the G code that is fed to the 3D printer. Of the software used in 3D printing, the slicer is really the most important piece. It controls the tool path of the print and its in-fill and speed, and the internal structure of the printed piece. We have experimented with most of the slicers on the market and have found that, of the open-source options, Cura best meets our needs. It is simple enough for beginners but offers more advanced options for further optimization of the print. On the paid, commercial slicer front, we think Simplify3D is the best. It has features to create custom supports and advanced interior designs that can be very useful in minimizing the cost or increasing the strength of a masking application. (Honeycombing the interior of any shape will make it very sturdy.) Simplify3D also has useful correction algorithms that can produce very detailed prints. It also includes a built-in software controller to run the print jobs.The cost is $150 for a two-computer license, which we think is very reasonable for the features it offers.
3D printer controller. Once the G code is in hand, it must be transferred to the printer. Different printers handle this transfer in different ways. Some have SD-card readers that can be used to transfer code. Some newer models have built-in Wi-Fi to connect to computers and transfer files. A few high-end models have dedicated apps for sending files from a computer, smartphone or tablet. All printers also have USB interfaces. After you connect the printer to a computer, you can use an application like Cura or Simplify 3D to run the G code on it. The biggest downside of this method, however, is that it requires that a computer be connected to the printer during the entire print. If you’re printing paint masking, you will likely have multiple printers running simultaneously. Needless to say, having a dedicated computer for each printer is less than ideal
Enter AstroPrint, a software stack that runs on a $35 Raspberry Pi computer and connects to a cloud-based slicer/print queue. (AstroPrint does not require a dedicated slicer, but by default accesses the Cura slicer in a cloud-based datacenter.) This free program allows you to connect and monitor as many printers as you like from a single user interface. And since it is web-based, it can run on anything with a browser. The software is very simple to use and has default presets that allow beginners to make quality prints without much knowledge of how the slicer works. AstroPrint will automatically adjust its settings for the selected printer and nozzle diameter. The user simply uploads an STL file to the service, selects the quality of print desired and designates a printer for printing. As a bonus, a webcam can be connected to the Raspberry Pi, allowing the printer to be viewed remotely from anywhere with an internet connection.
The 3D printer. The 3D printer market is very dynamic; every week, new machines enter it at new price points and with new features. We have tested several “bang-for-the-buck” printers that offer the features needed for production 3D printing, but there are many others out there. Of those machines we have tested, these seem to offer the best overall value: the Monoprice Select Mini ($199); the Robo3DR1+ ($599-$649); and the Creality CR-10 S3, S4 and S5 ($399-$925). Visit PFonline.com to learn more about each printer.
Extruder, hot-end and nozzle. The extruder, hot-end and nozzle are the “business section” of a 3D printer. This is where the plastic filament is squeezed through a very hot tube and melted to create the prints. It is one of the most important aspects of successful masking production. Most 3D printers ship with 0.4-mm nozzles, and an extruder and hot-end to match. The 0.4-mm is a great size if your goals are to produce very small features accurately. However, to produce usable masking at the fastest rate possible, 0.4 mm is too small. A common misconception is that increasing the nozzle diameter will decrease the accuracy of the print, but this is not necessarily the case. Increasing the diameter will decrease the resolution of features, but lucky for us, masking is not heavy on surface features.
Filament. The rolls of plastic used in 3D printing are called filament, and dozens of different types are available from an ever-expanding vendor list. The type and grade of filament you will want to use to print masking will depend on your coating application. We generally print most of our masking using polylactic acid (PLA), a plant-based plastic that is very easy to work with. It creates quality prints, and unlike acrylonitrile butadiene styrene (ABS), it is resistant to acetone. While not the cheapest filament ($11-18 per kilogram), we recommend it as a good first material on which to learn. ABS is a bit less expensive ($9-16 per kilogram), but it has a tendency to warp during the printing process.
The 3D printer market is still fairly young. As the technology advances, we expect to see the capabilities and costs continue to improve. In addition to masking, we have found 3D printing to be a great way to save money by building our own mixing blades, Zahn cups, eductors, fixtures, tool bins and many other items we would normally purchase. We simply print what we need. We believe 3D printing one day will be used in most coating operations. It is a natural fit to our business, and it creates an opportunity to turn a hard cost into a profit center.
Lee Hughes is general manager at Oklahoma Custom Coating. Visit ecoat.us.
RELATED CONTENT
-
Possibilities From Electroplating 3D Printed Plastic Parts
Adding layers of nickel or copper to 3D printed polymer can impart desired properties such as electrical conductivity, EMI shielding, abrasion resistance and improved strength — approaching and even exceeding 3D printed metal, according to RePliForm.
-
NASF/AESF Foundation Research Project #123: Electrochemical Manufacturing for Energy Applications – 2nd Quarterly Report
For 2022, NASF-AESF Foundation Research Board has selected a project on electrodeposition toward developing low-cost and scalable manufacturing processes for hydrogen fuel cells and electrolysis cells for clean transportation and distributed power applications. This report is the 2nd quarterly report, covering work during April-June 2022 and consists of an edited manuscript, “Manufacturing and Thermal Shock Characterization of Porous Yttria-Stabilized Zirconia for Hydrogen Energy Systems.”
-
Five Trends in Surface Finishing
You’re at IMTS because you’re interested in moving your business forward. No matter what role you fill in the manufacturing process chain, it’s important to consider how your parts will be finished. Here are five trends in surface finishing.


