How To Better Control Powder Coating Film Thickness
If you struggle to avoid light coating in some areas of your parts, then expert Rodger Talbert has some suggestions on how to better control film build.
#basics #racking
Q: We struggle to avoid light coating in some areas of our parts. Our application is all manual so we have focused on working with operators to help them understand the critical areas and work harder at getting enough powder in the inside corners and tight spaces, but they still have some failures. We also have some heavy coating at times and that may be related to the effort to avoid the coating. Any suggestions on how to better control film build?
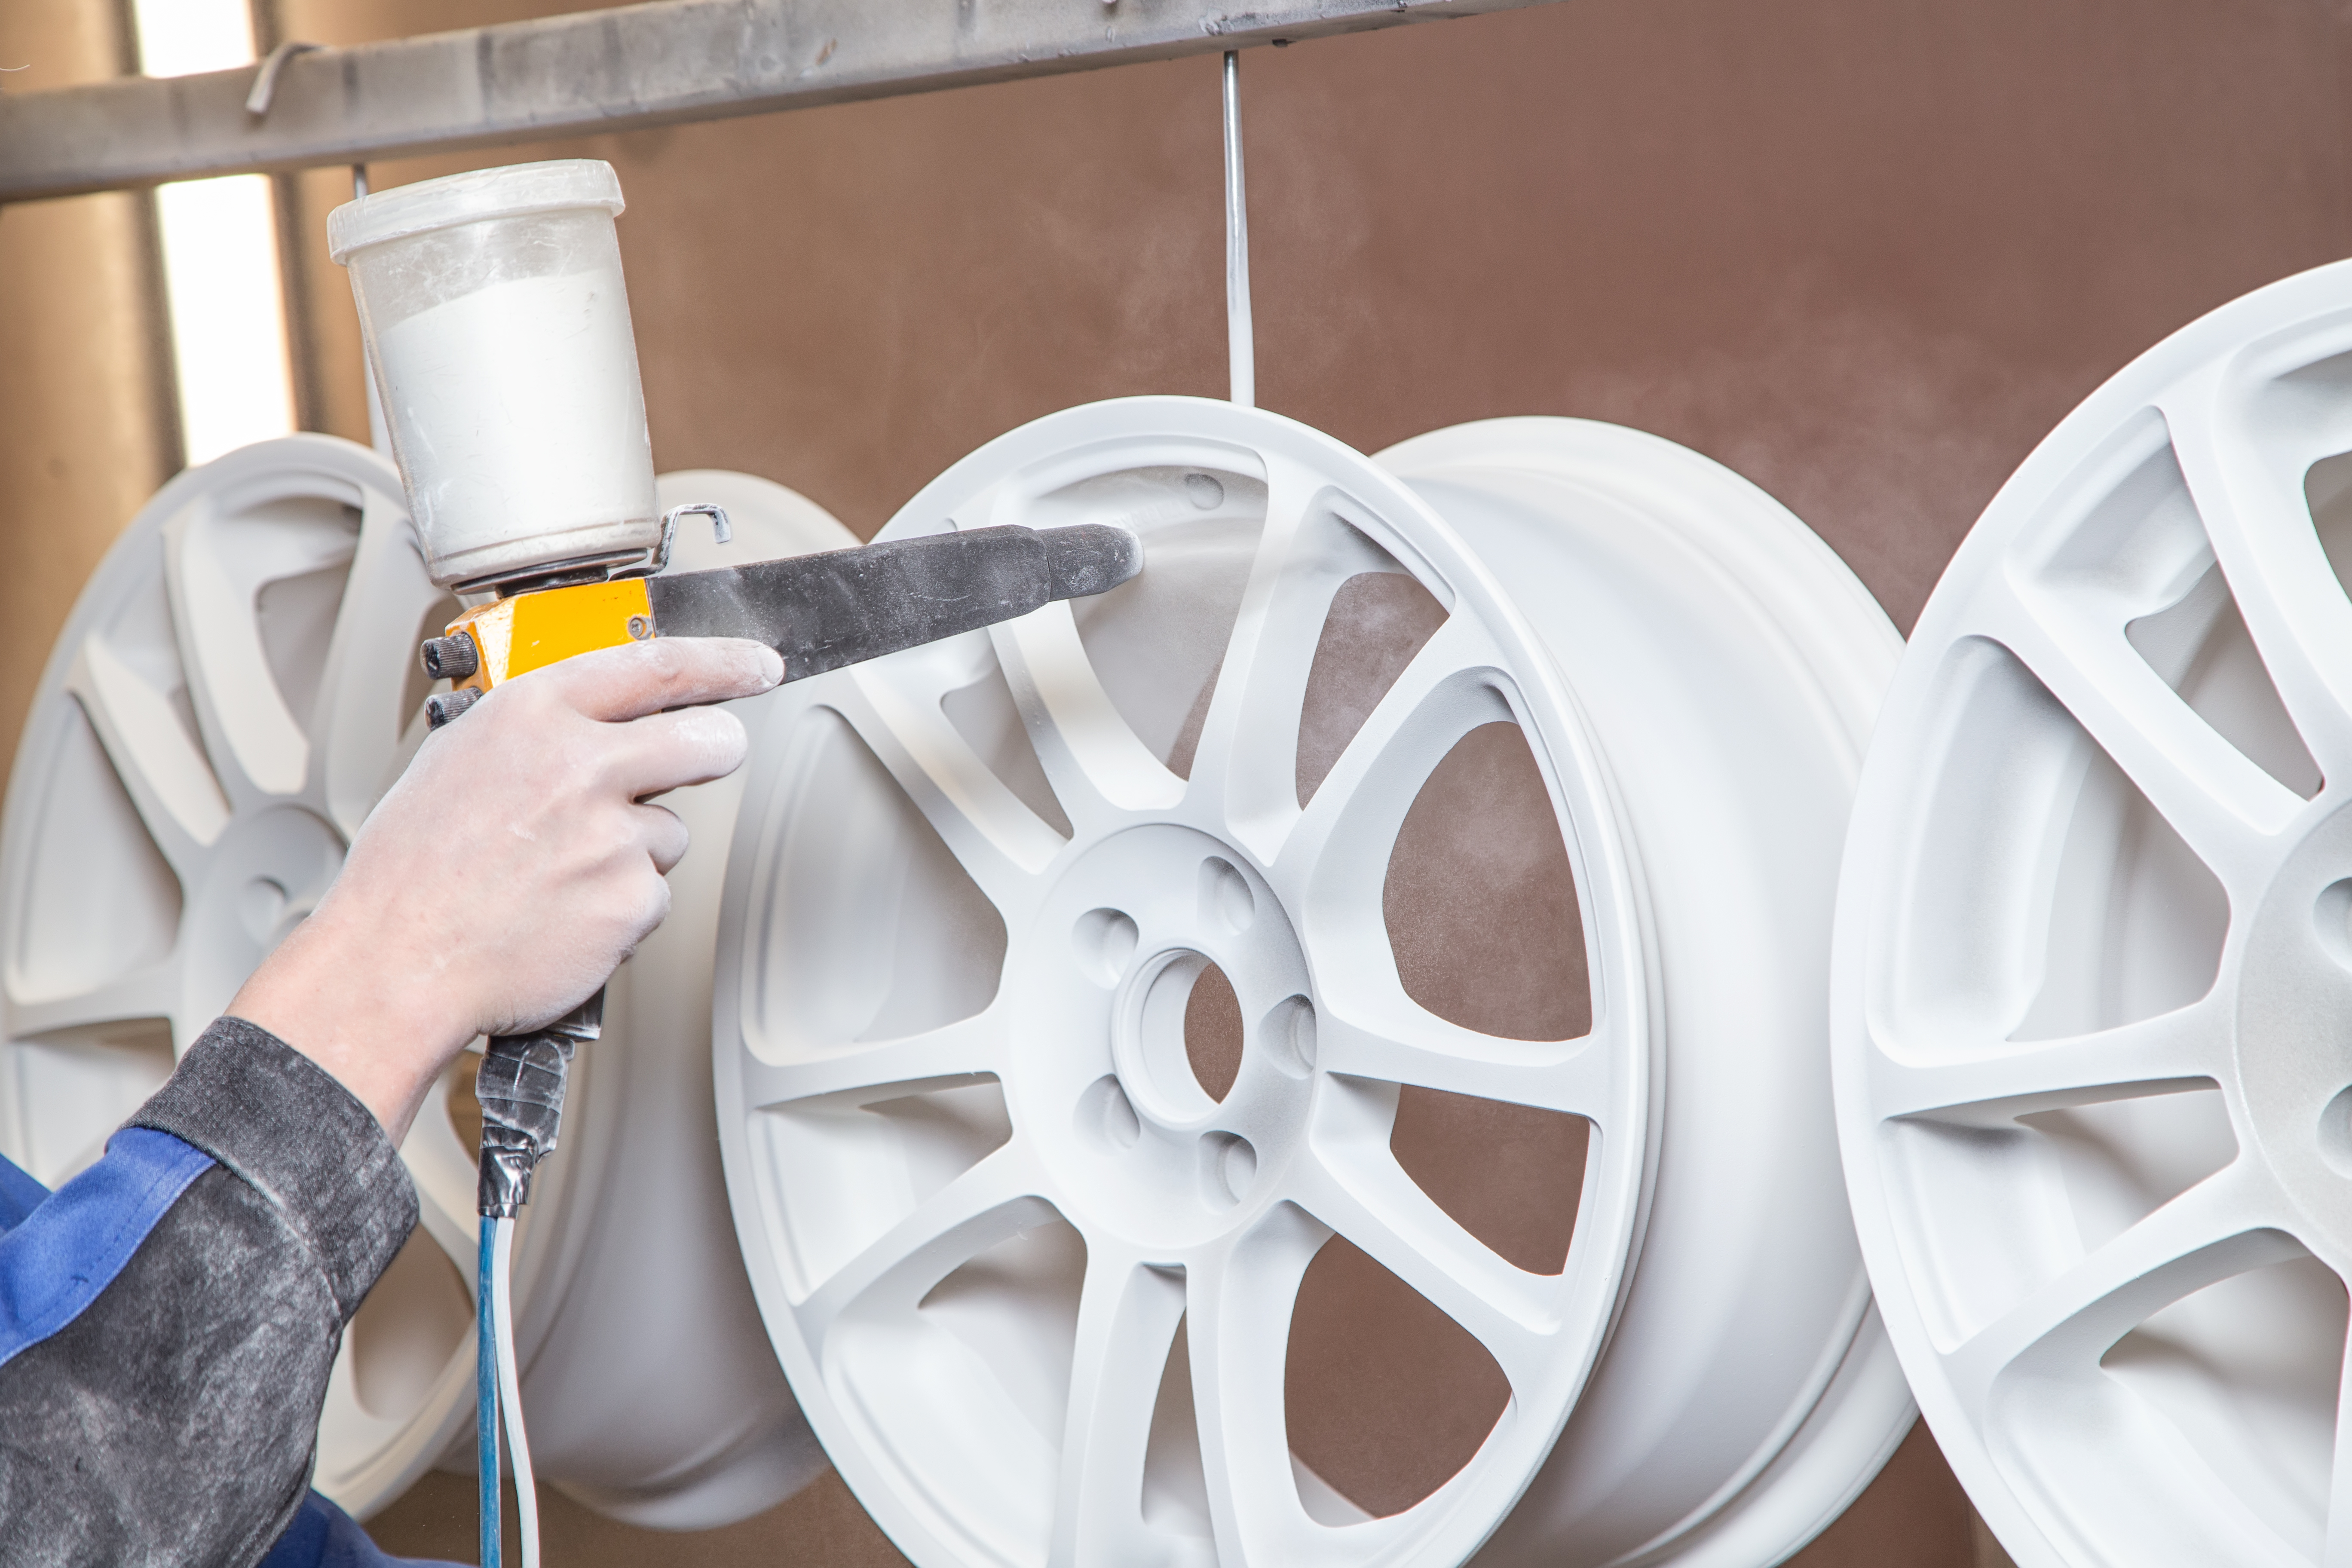
A: This is an age-old question that has been considered a few times in this and other columns. There are many factors that impact film build control so the answer is not simple. Start by considering the key word in the sentence — “control.” Control implies a systemic approach to a problem by implementing clear and repeated methods and techniques. The things that need to be controlled include powder fluidization, flow rate, gun-to-target distance, stroke pattern and speed, parts racking, line speed and presence of good contact to the ground.
Featured Content
It starts with racking. Do you have the right number of parts per minute traveling through the booth? If you have too many, the coating will vary toward the light side. If you give the parts too much space, the coating can be heavy in some areas. Spacing needs to be adequate for good access without leaving too much empty air in the pattern. Parts should be close enough for good efficiency without limiting access to all areas of the part. The position needs to assist vision and ergonomic access to the part surface. Parts need to be held steady and consistently. Hooks need to be clean and in good repair. The line speed and amount of part surface needs to be comfortable for the operators so they can cover all surfaces without racing to keep up with the line.
Next, make sure that the powder is flowing smoothly and consistently from the gun tip in adequate volume for the amount of part surface that is traveling through the booth. Control the velocity and pattern to allow a high percentage of efficiency and minimize overspray.
Work on consistent patterns so the parts get the same coverage all the time. Use some research and trials, if necessary, to make sure you have the best possible setup and spray pattern. Measure the film thickness and help the operators see what is happening to each area of the part.
Finally, work on standard methods for all of these operational variables so you can improve on consistency. Standard operating procedures and well-conceived racking arrangements can provide the improvement you are looking for in film-build control.
How to Identify Defects
Q: We have some bumps in the powder-coated film and we are not sure what they are. Can you give us some pointers on how to identify the bumps?
A: Bumps and dirt rejects are often not clearly identified and that makes it hard to get to the root cause. There are a few simple things you can do that will help you learn what caused the defect and maybe find a way to limit or eliminate the cause.
Start by getting a decent microscope so you can get a better look at the defect. A simple microscope that connects to your computer with a USB can work. Look at the affected area to see where the defect is in the coating layer, if it has color to it, what shape it is and how big.
Consider an example associated with the release of trapped air in a casting, the outgassing your experienced applicator thinks may be an issue. It will look like a small volcano erupted in the coating and left a round ridge with a depression in the center. If you gently cut into it with an X-ACTO knife, you will see the film in the center is thin and there is no apparent color other than the powder color. Sometimes, there can be some small particulate in the center as a result of debris being released from the porous hole where the “gas” was trapped in the casting. It’s pretty easy to identify with a trained eye.
You may find something rusty looking, shiny or a distinct color of red or blue and be able to connect it to some object of that color in the system. You will very likely find some fibers as they are one of the most common types of particulate found in a powder film. Try to figure out by the color or shape if it is associated with a particular rag or article of clothing that is used or worn around the system.
You will not always be able to tell what you are looking at, but keep after it and you will find more and more items that are familiar. As you identify a specific bump, be sure to take a good magnified photo of it and keep it in your files for future reference. This library of defects will help you quickly identify future particles with the same characteristics.
Once you have identified a particular defect, you can put plans into action to try to eliminate the source. For example, if you find a recurring blue fiber and look around to see that you use a blue rag to wipe up the powder booth and the fibers on the rags match the fiber in your coating, you have a way to correct that source. It takes some patience and practice, but it pays some nice rewards over time.
RELATED CONTENT
-
Calculating Oven Heat Load Capacity
Please explain how to calculate the heat load capacity of a paint baking oven, using aluminum alloy wheels as an example.
-
Powder Coat MDF for an Enviable Finished Product
Cabinet maker says powder coating on wood offers more benefits.
-
Understanding Infrared Curing
Infrared cure is gaining increased attention from coaters as a result of shorter cure cycles and the possibility of smaller floor space requirements when compared to convection oven curing.


