Flawless Finish? How Digital Microscopy Is Transforming the Automotive Paint Shop
Digital microscopes help engineers quantify the quality of a paint finish, and this helps with both quality control and technology development.
#automotive
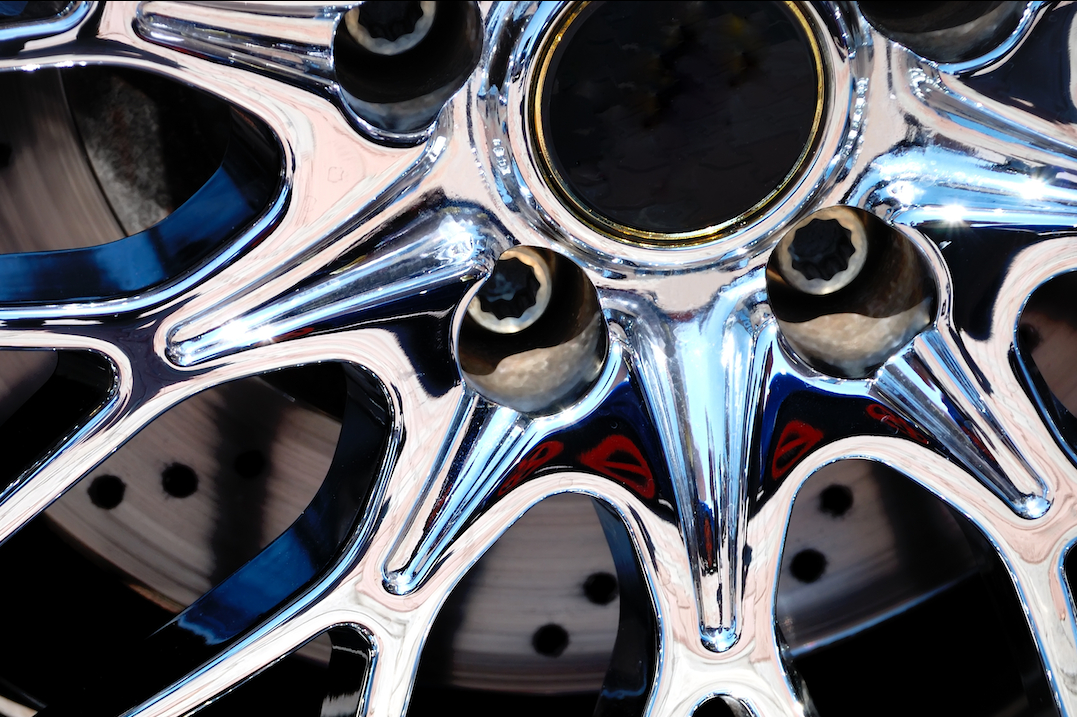
Henry Ford is reported to have said, “Any customer can have a car painted any color that he wants so long as it is black.” Whether he really said this is up for debate, but one thing’s certain: Cars now certainly come in more colors than just black. Today, there’s an increasing demand for metallic, pearlescent, matte and other paint types, all in a vast array of colors and all more durable than ever. Advancements in paint technology have been made possible through the use of microscopy, both in development and quality control.
As the quality of automotive paint finishes improves, so does the customer’s expectation for a flawless finish, especially on high-end vehicles. Though the eye of a paint shop quality control engineer is hard to rival, it’s also nearly impossible to quantify. Fortunately, digital microscopes help engineers actually measure the quality of a paint finish.
Featured Content
Identifying Defects
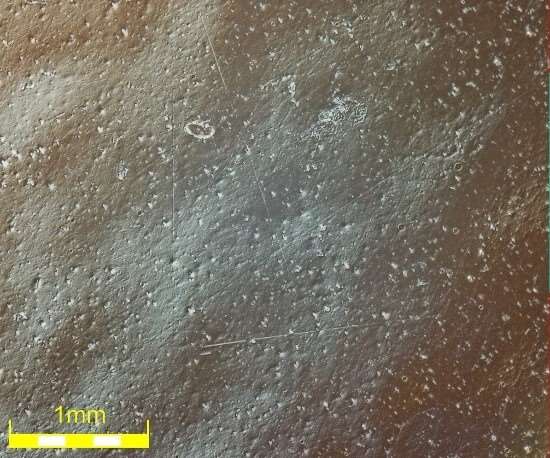
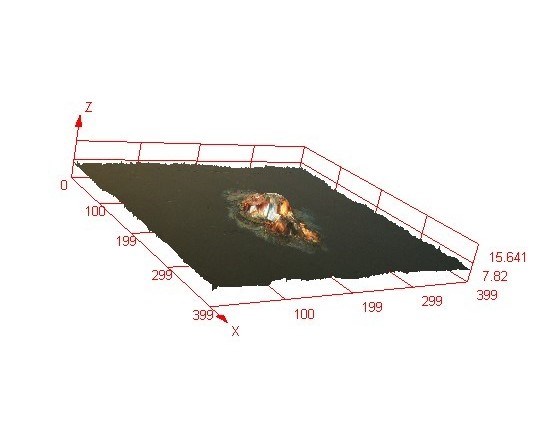
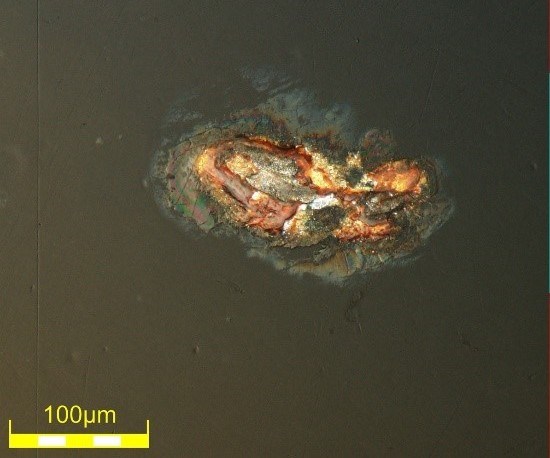
The appearance of microscratching, contaminants and orange peel are all enough to send a luxury vehicle back to be refinished, a process that costs manufacturers additional time and money. Costs can be greatly reduced, however, if the problems are found at the factory rather than in the showroom.
That’s why quality control engineers use digital microscopes to quantify the presence of defects in their painting process. Sample paint chips are sprayed along with the vehicle, and the quality of the paint on the chips is then inspected using the microscope. In some cases, paint samples cut from rejected body panels can serve as the specimen that’s inspected.
Quality assurance managers rely on various microscopy observation techniques to identify defects.
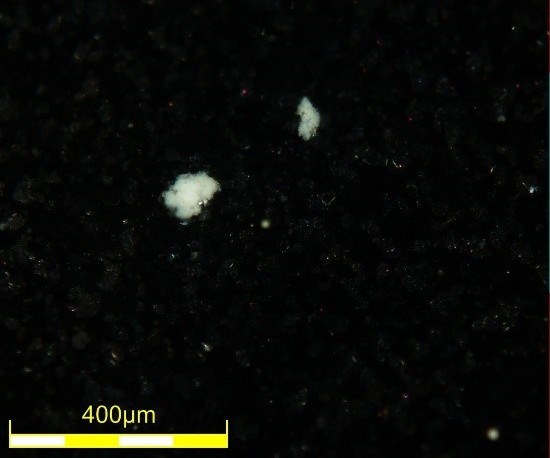
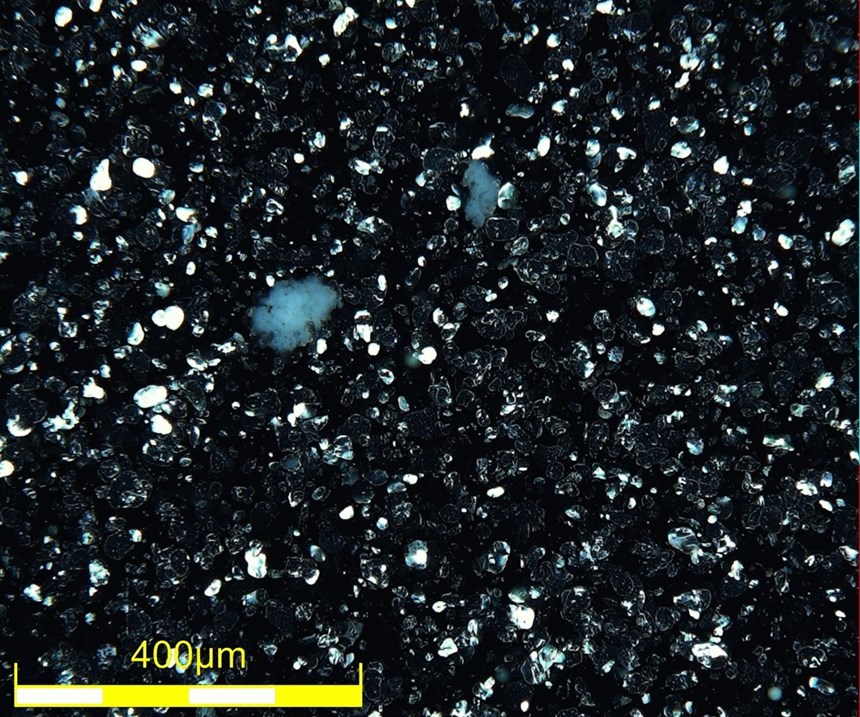
- Darkfield, an illumination method that helps make it easier to see minute scratches.
- Differential interference contrast (DIC), a technique in which the illumination is diffracted through a DIC prism; this technique is effective for highlighting minute height differences on a sample.
- High dynamic range (HDR), a technique by which several images taken at different exposures are combined to reveal fine surface details, regardless of differences in brightness across the sample’s surface.
Digital microscopes make it easy to use these different techniques in a repeatable way and to switch between them just by pressing a button.
Layer Thickness
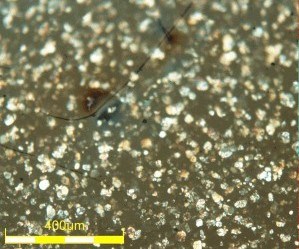
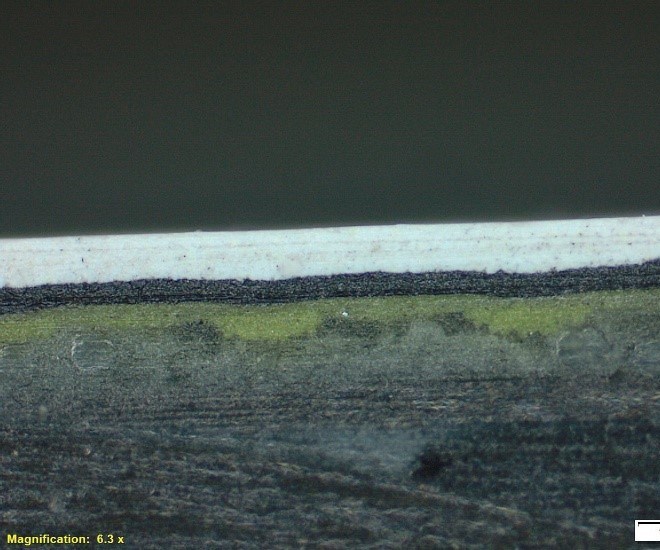
In most automotive plants, the entire vehicle painting process, from primer to clearcoat, is entirely automated. In an ideal world, this would produce the same finish every time. In the real world, it’s important to verify the quality of the finish by performing layer measurement. This will confirm that each layer is being deposited evenly in the correct thickness.
Under the microscope, the entire length of the paint chip can be imaged and hundreds of measurements taken automatically, resulting in a truly representative and objective reading. By performing these measurements regularly, the performance of the paint booth can be tracked and any variations quickly corrected before problems arise.
A member of the Olympus team since 2016, Hamish Rossell provides product and application support for Olympus industrial microscope systems throughout the Americas. He is an expert in inspection applications, image analysis, measurement and reporting, as well as custom optical solutions, with an emphasis on technical cleanliness and semiconductor equipment.
RELATED CONTENT
-
Five Principles of Lean Manufacturing from Toyota Production Systems
Fostering Sustainable business and People success through new ways of thinking
-
The EV and the Curing Oven
How will the advent of electric vehicles change paint curing processes and oven requirements?
-
Corrosion Testing of Automotive Coatings
Exposure to road salts, UV radiation, heat, moisture and chipping from kicked-up road debris can quickly degrade an automotive coating system.


