Troubleshooting Powder Coating Issues with SIRE Methodology
Appears in Print as: 'Powder Coating Clinic: SIRE Troubleshooting'
Steve Houston of Vitracoat Inc. describes the SIRE method he employs for troubleshooting powder coating lines that produce faulty parts.
#asktheexpert

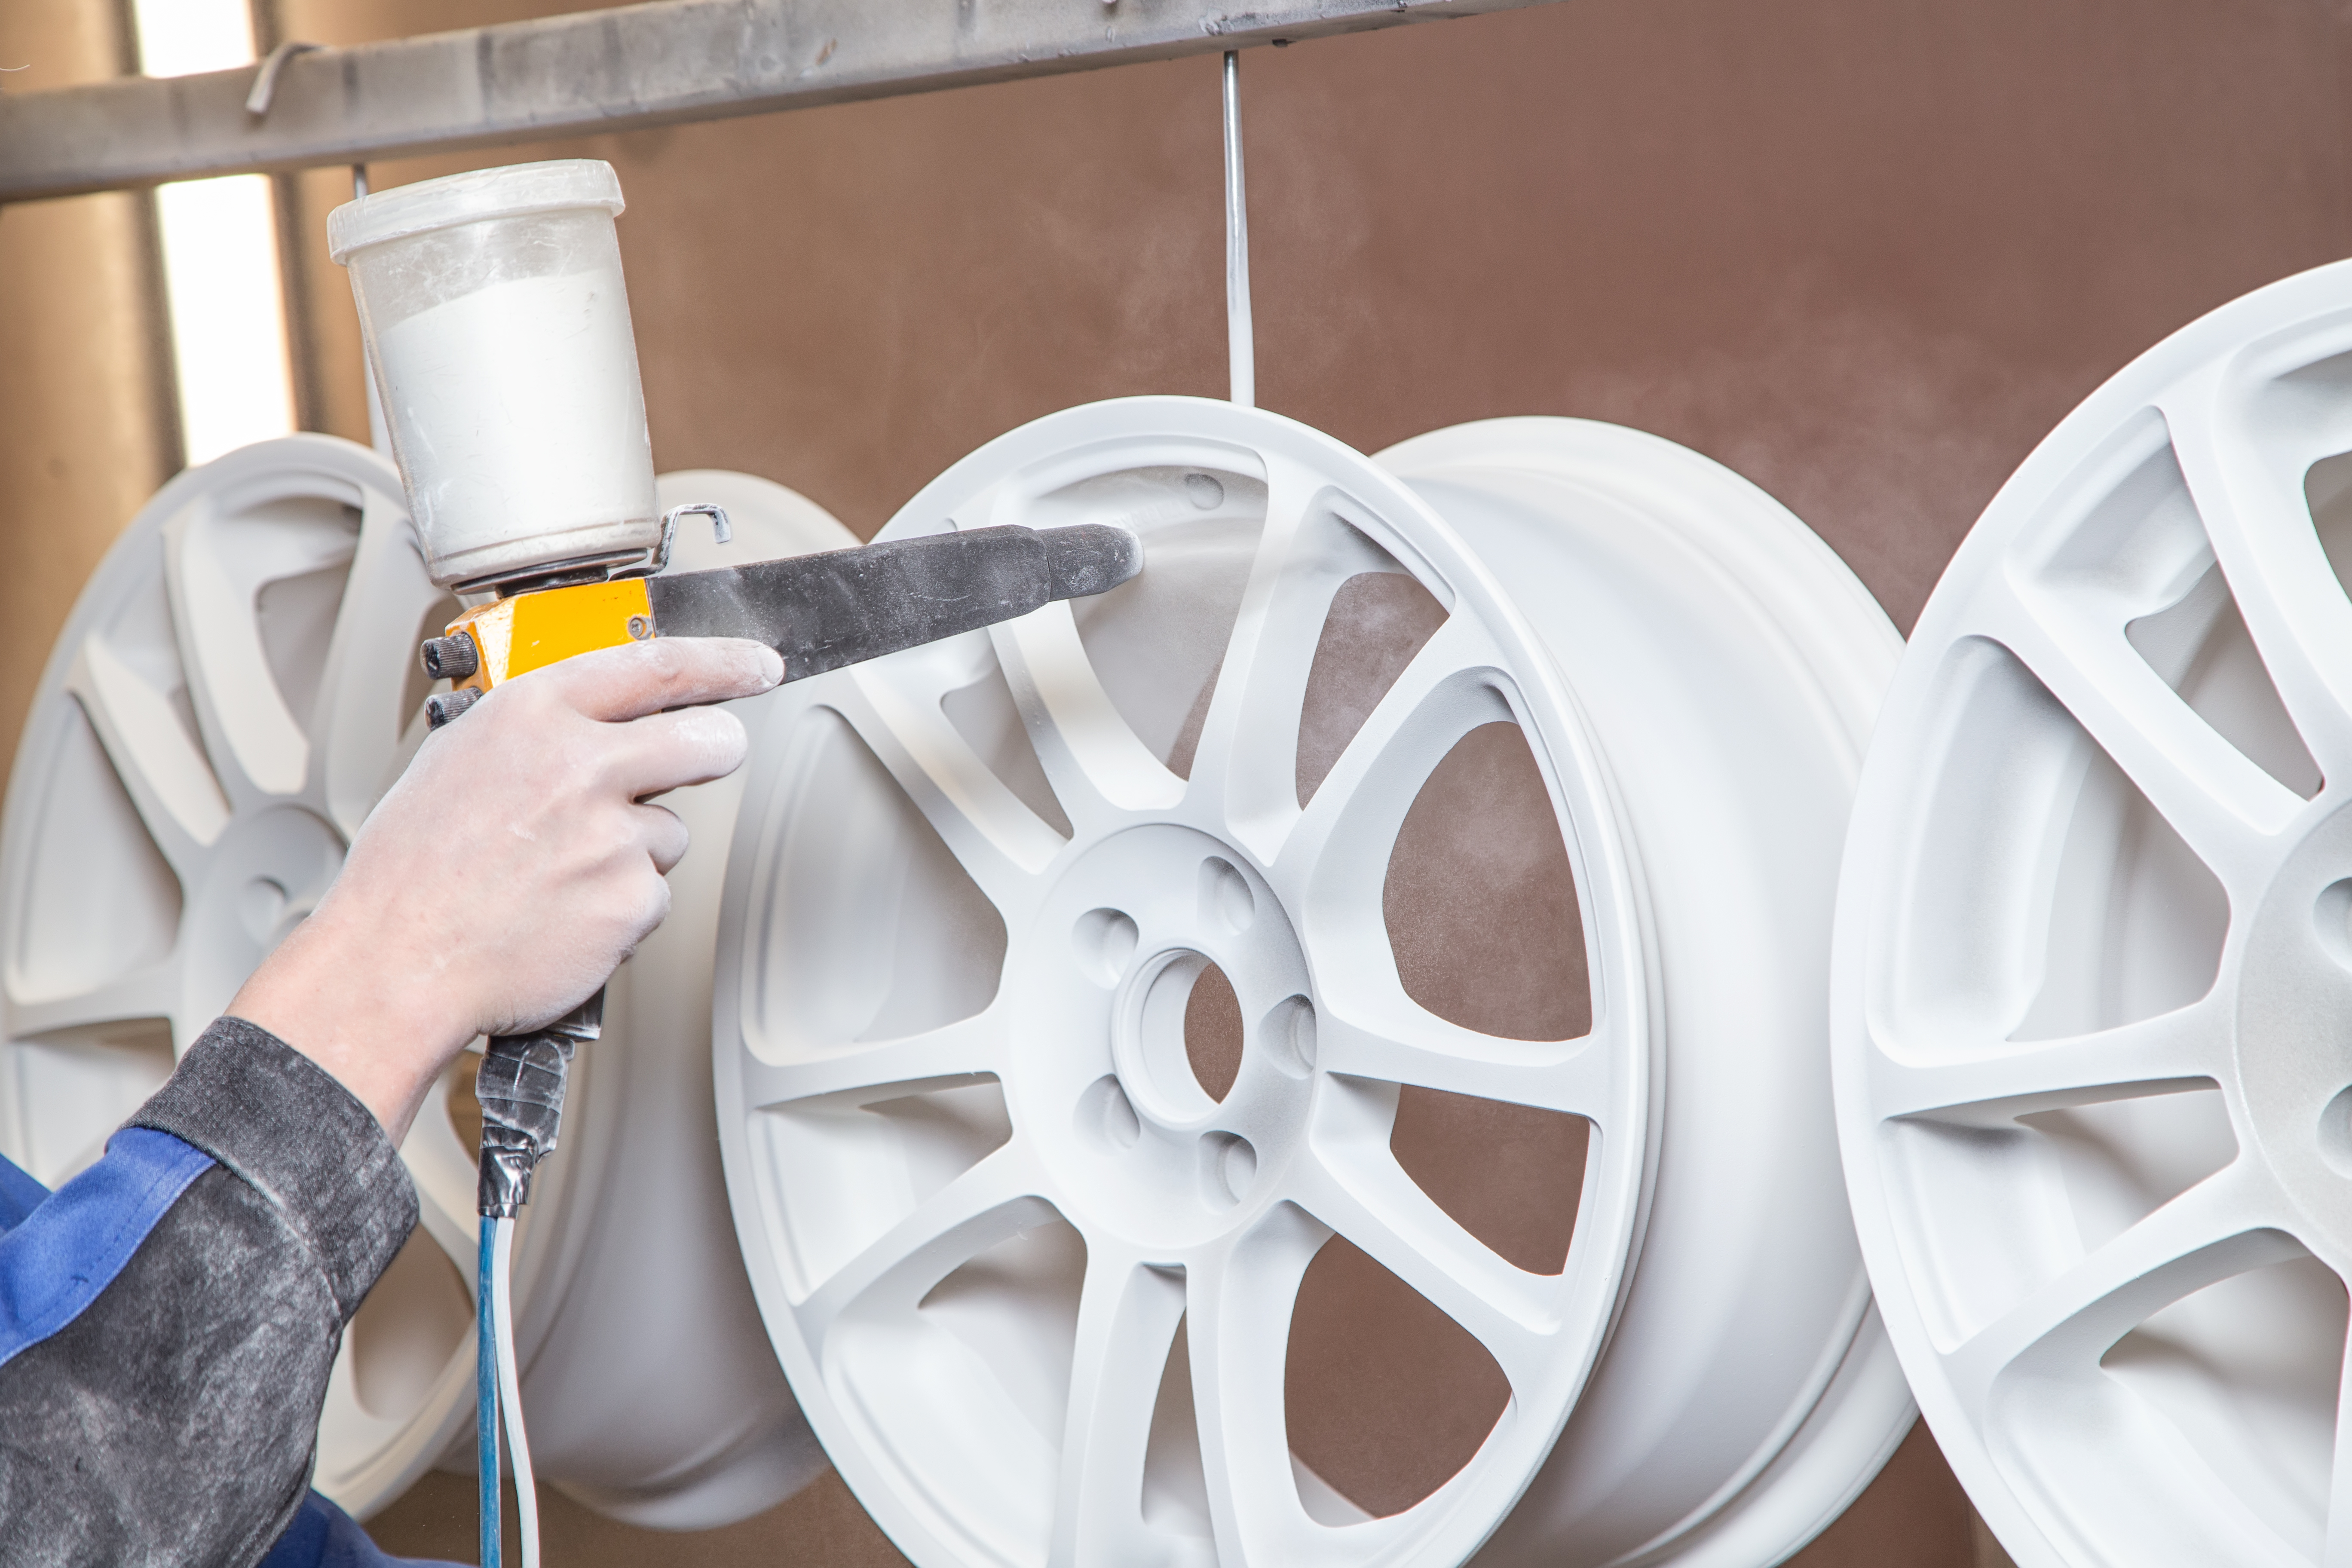
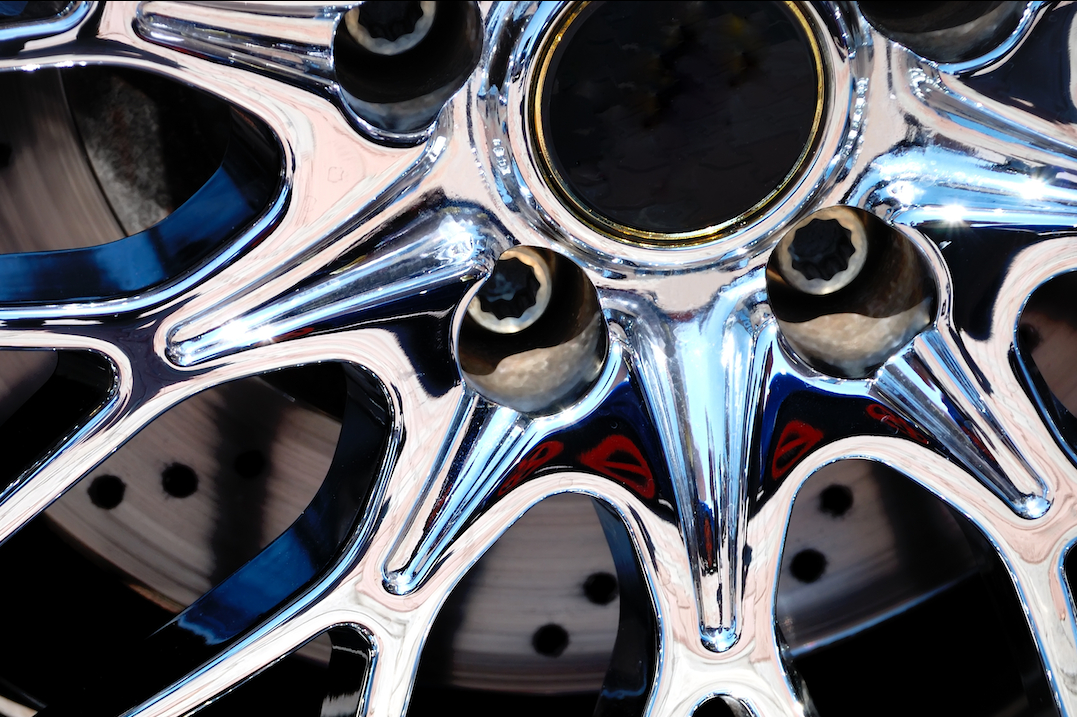
Photo Credit: Vitracoat Inc.
Q: What is the best or most efficient way to approach troubleshooting problems with a powder coating line?
I have heard it said that doing the same thing over and over expecting a different result is the definition of insanity. But what if you think you are doing the same thing over and over, but the outcome is a different result? Maybe this can drive you to insanity? The fact is, if the outcome is different, something in the process has changed — and there are right and wrong ways to track down the root cause. We are talking about troubleshooting.
Featured Content
Making a bad or out-of-spec part is common, the question is how we can systematically track down the cause of the issue and build or rebuild a process to avoid the problem’s recurrence. I believe the SIRE method is one of the best tools for troubleshooting powder coating systems that create faulty parts.
It is tempting after rejecting a group of parts to immediately start turning knobs, moving levers or adding new processes based on a guess to get a “quick fix” and continue production. The problem with this approach is that oftentimes our guesses are wrong, and not only do we not get back on the right track, we often add one or more new variables that take us further from the proven process. Instead, you should respond to rejected parts by tracking down the cause of the problem using a process of elimination protocol.
The S in the SIRE system stands for “Search”: systematically search out the potential cause. Let’s assume that the problem is “trash” on the part. During the Search step we want to gather up and record our findings. How many parts include errors, what type of parts, on which shift did the error occur, where are they located on the hanging bar, what time of day did the error happen, what area on the part includes the problem — in the Search step we want to gather all pertinent information about the reject. What does the trash look like with the naked eye and under magnification? Cut into the trash to better understand its composition.
The I for “Investigate” step is where we want to investigate and isolate the cause of the problem. In the example scenario, does the entire part have trash or is it located on one section of the part? If it is only on specific sections of the part, we can virtually eliminate the powder itself. If the trash is not all over the part and only found on the top of the part, and the parts located at the top of the rack have more trash then the ones below, we can surmise the problem stems from falling trash or debris. We can then take a part before it enters the oven and cure it in a lab oven instead. This removes the cure oven from the equation, further narrowing down the source.
The following step, R for “Recreate,” is critical for proving that your theory about the source of the problem is correct. The fact is, your theory remains a hypothesis until you can successfully recreate the problem.
Once you have used all the data you have collected and are able to recreate the problem, you can move to the final step: E for “Eliminate,” where you eliminate the problem.
RELATED CONTENT
-
Improving Transfer Efficiencies in Coating Operations
There are many methods for addressing electrostatic grounding in metal painting processes, and Tim Ulshafer from Mueller Electric says the best method for your process is a simple and worthwhile exercise.
-
Preventing Anodizing Cathodes from Turning Red
While the red color may not be desirable, anodizing expert Drew Nosti says it poses no particular problem to a successful anodizing process.
-
Developments and Trends in Powder Coating
New solutions for powder coating centers combine powder preparation, conveyance, dosing and color changes into a fully automated, closed system.


